How to: Easy Squarespace Edits in Version 7.1
Hi there! This is a basic visual tutorial which will show you how to make basic edits to your Squarespace site in version 7.1.
Login to your Squarespace Account. You will see the following screen. Click on Account Dashboard.

Next you will see this screen. Click on the thumbnail for the site you want to edit.

Next you will enter into editing mode. On the left is your Dashboard, on the right is the Preview Area.
All edits you make are live once you hit Save, and there is no one-click undo tool, so keep that in mind!

Click on Pages to view (or edit) the overall organization of your website.

All the pages of your site will now show in the Dashboard, organized by sections such as “Main Navigation,” Not Linked,” etc. Whichever page is highlighted (in light gray) will show in the Preview Area (right side.)
I do not recommend moving the order of your pages around, I designed your site in this order for a reason.

For this example, I have selected Home. To make edits to the page you’re previewing (Home), click on EDIT in the top left corner of the preview area:

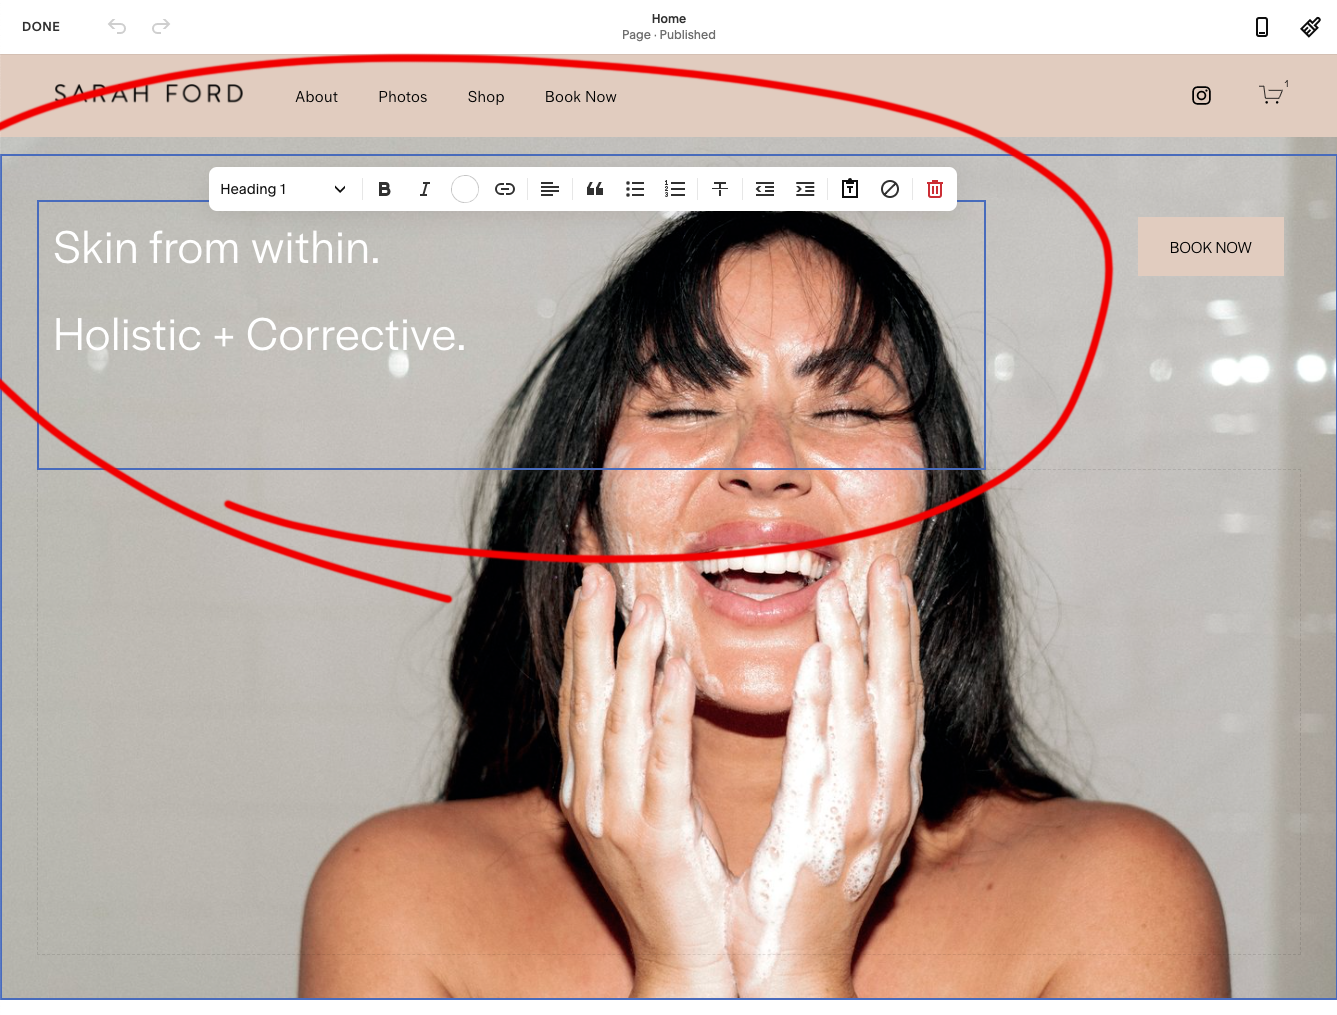
The Preview Area will expand and the Dashboard will temporarily disappear. Now any element you rollover with your mouse, it will give you the option to edit. Double click on an element to make edits.
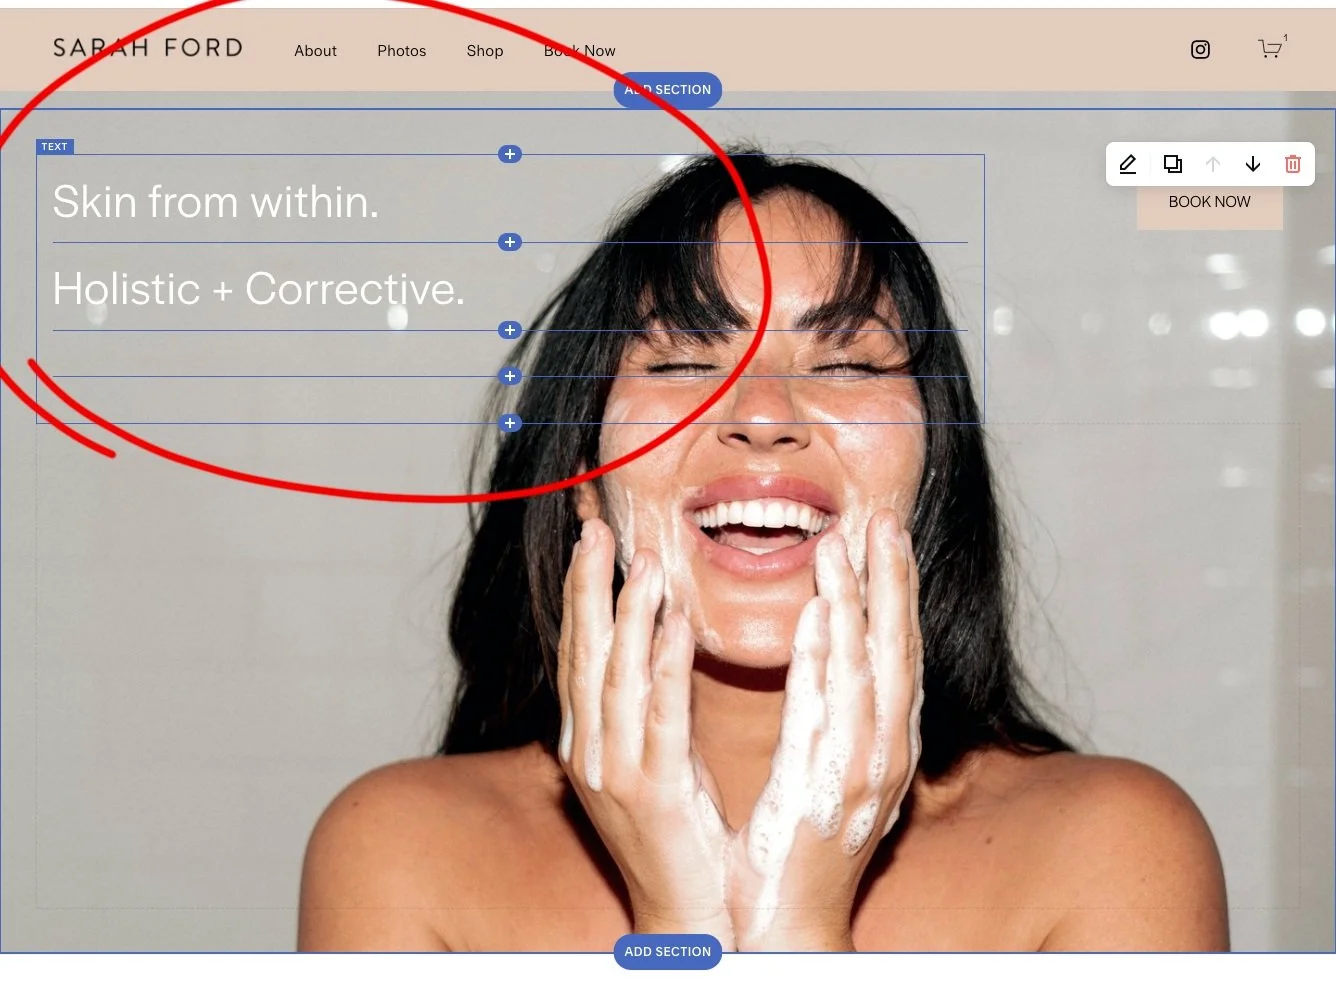
You can now edit text just like any other word processing document. Give it a try.
As you roll over different parts of the Preview Area, different editing options and tools will pop up. Play around with it for a minute to see what I mean.
If you roll over an entire section, this toolbar will pop up on the right side:
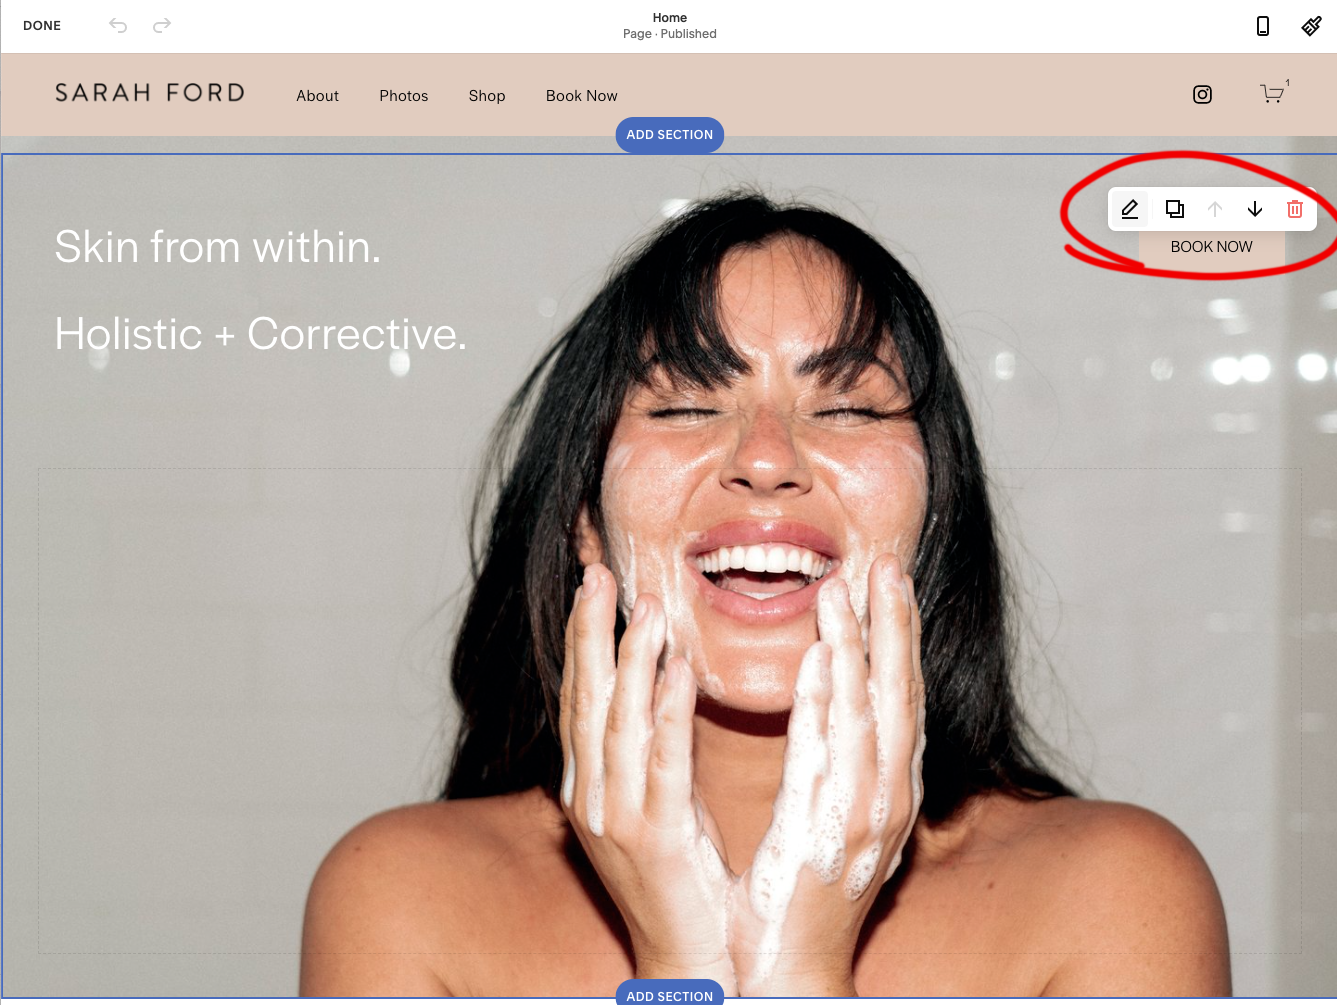
Clicking on any of the icons on that toolbar will bring up more options. Play around with the settings if you’d like, but make sure you don’t Save any changes you aren’t happy with.
In order to discard changes you don’t want to keep, go to the top left corner, click on Done and then click on Discard Changes. (Reference the next two images.) If you made a change you do want to keep, you can click Save instead. Just remember, once you make changes to your site and Save them, there is no automatic way to undo them. Edit carefully!


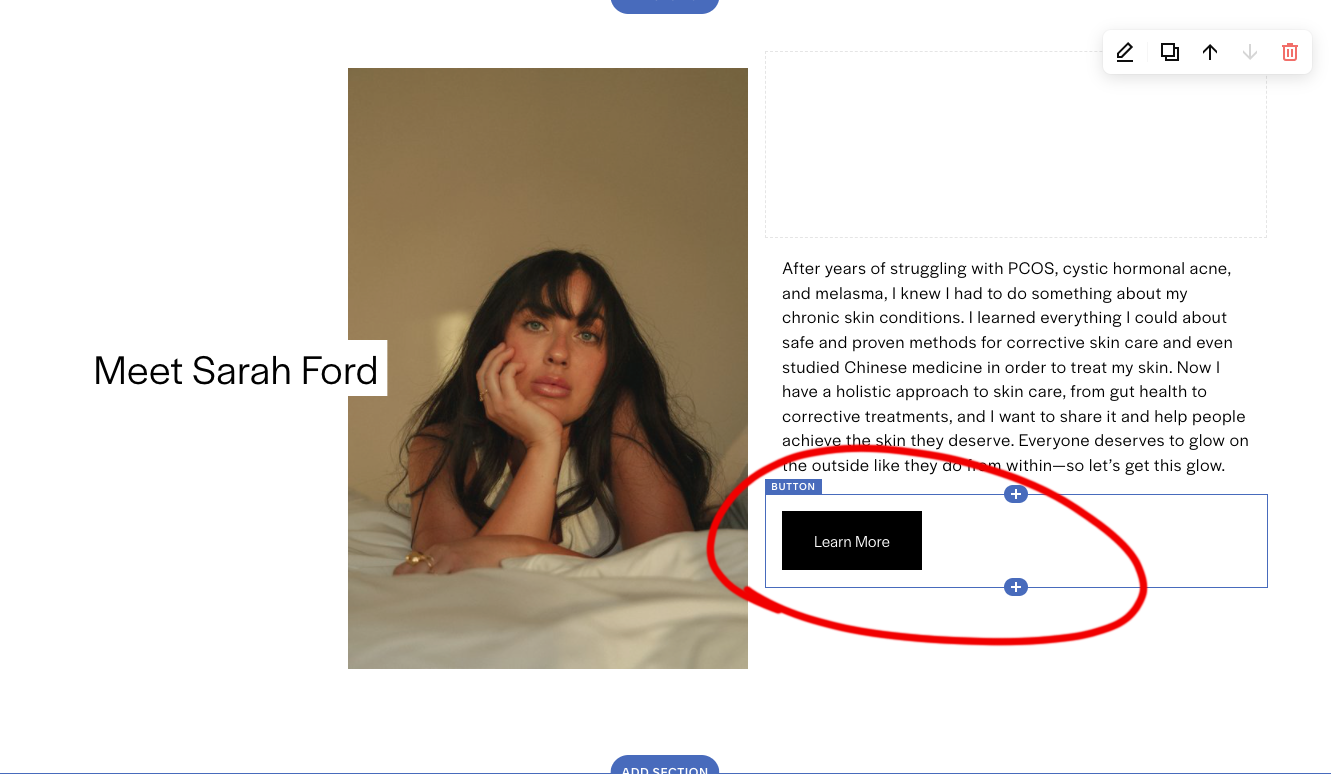
In the same way I showed you how to edit text by hovering over it and then double clicking on it, you can edit buttons the same way.
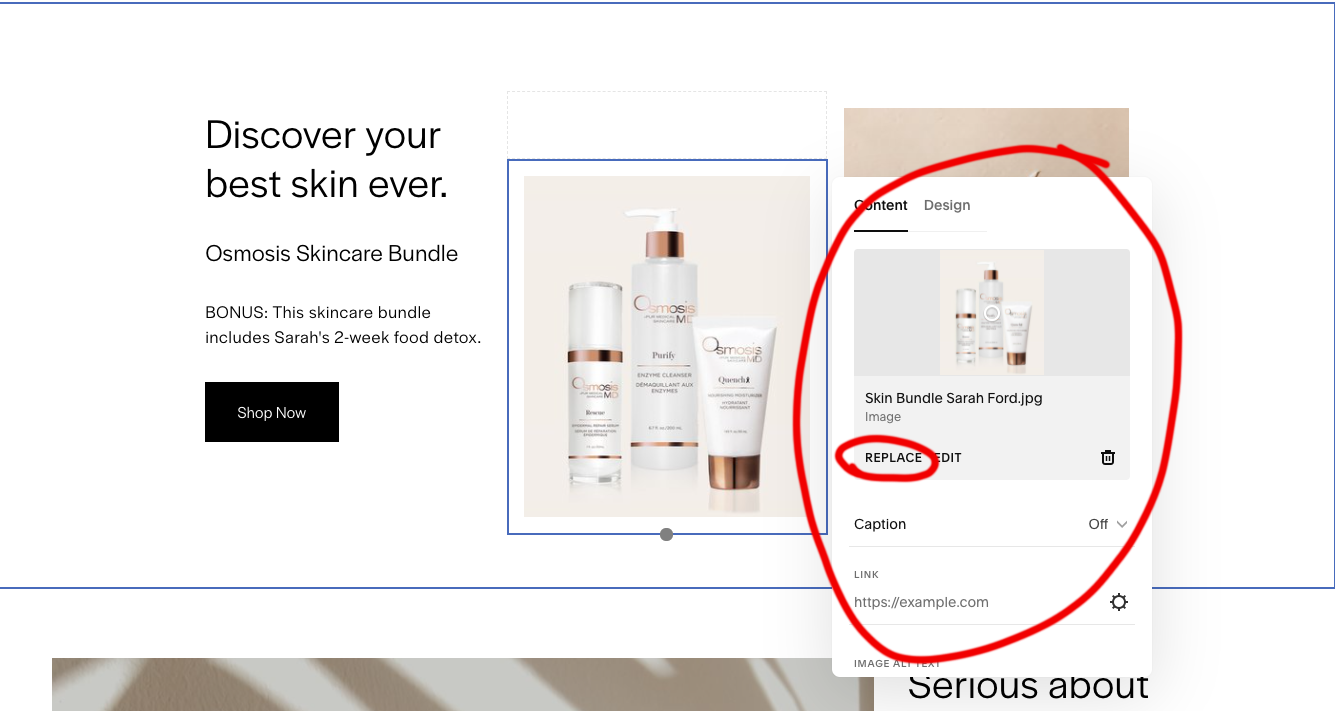
Next I’ll show you how to change an image. Once again, roll over the element you want to change and then click on it. Then click on the icon that looks like a pen:

Another menu will pop up. Click on REPLACE if you’d like to replace the image with a different one.
Do not click on Edit or it will open Squarespace’s built in image editor, which I don’t recommend using.
We went over this already but I’ll cover it again because it’s important. You must save your changes for them to take effect! Once you’re done making edits, go to the top left corner of the page and click on Done and then choose either Save to keep your edits, or Discard Changes to return your website to how it was before you started editing in this session.

That’s it! Now you should be confident in making basic text edits to your Squarespace site in Version 7.1. Please don’t hesitate to email me if you have any questions.